Attendance
Present – 05 Chabu
Present – 13 Fin
Present – 18 Tonkaow
Present – 23 Fafa
Task
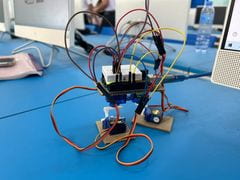
Programming to the Bipedal Robot
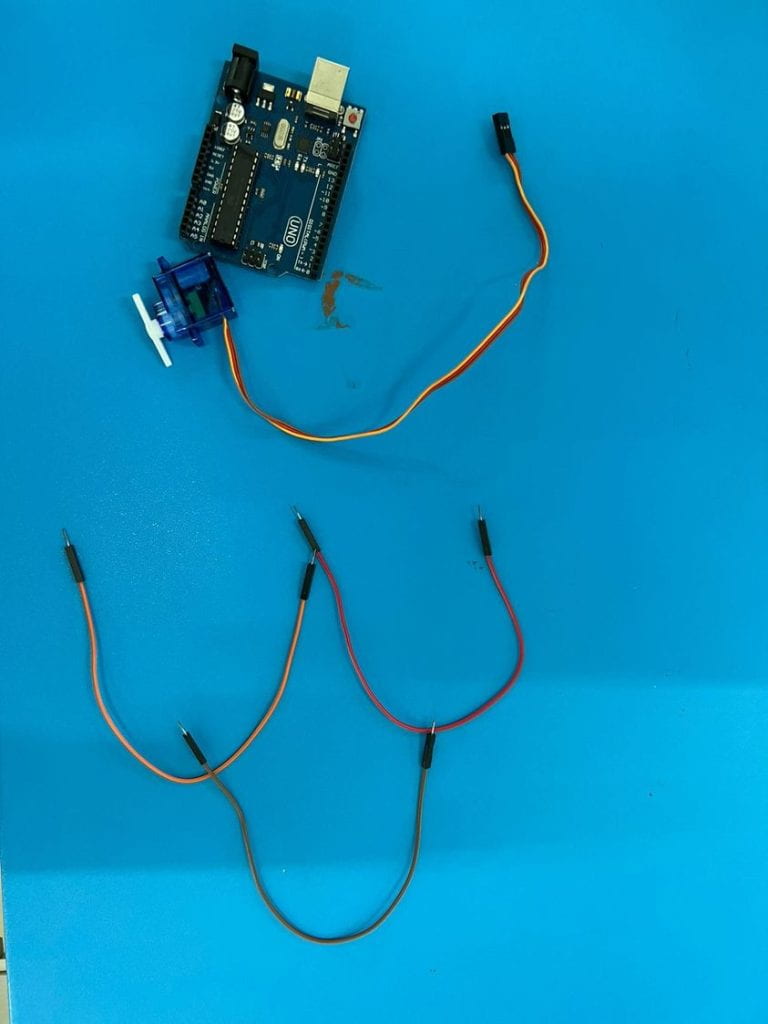
Components
1. Arduino UNO Board
2. 4 Micro Servo Motors
3. USB Cable
4. Jumper Wires
5. Bread Board
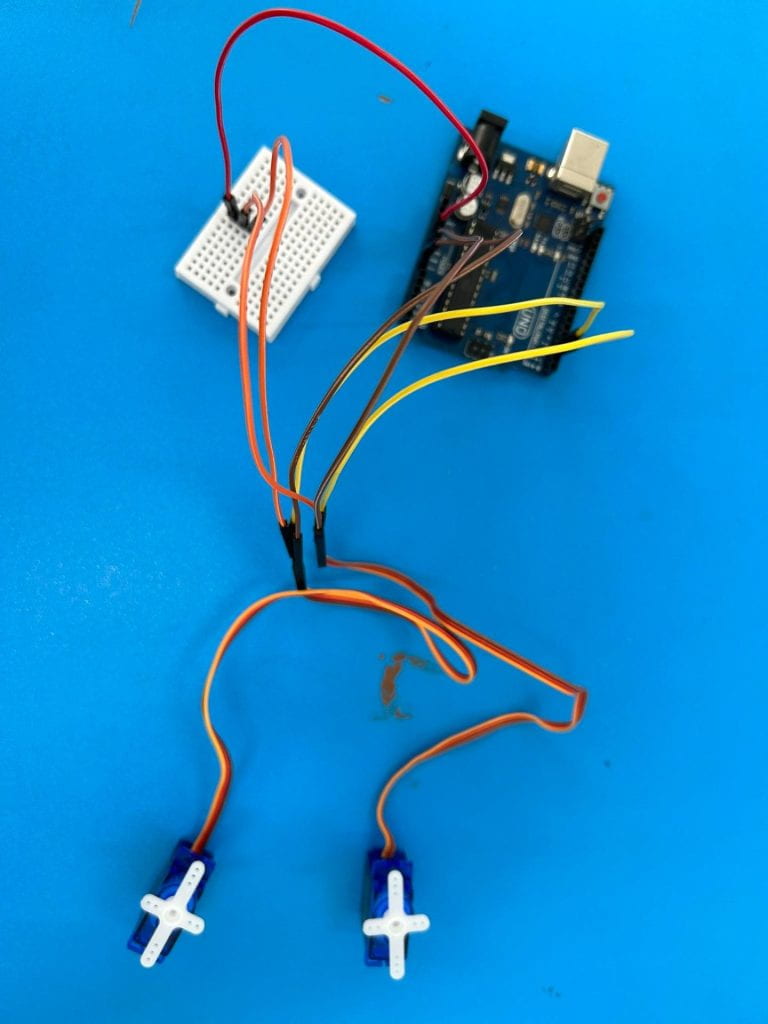
Process
1.Attach the yellow wires to the digital pins. (3,5,9 and 6), attach a power wire to the Arduino board’s 5V pin, attach a ground wire to an Arduino Uno board’s GND pin, attach an Arduino board’s power cable to the Bread board, attach a ground wire from an Arduino Board to the Bread board
Attach each of the yellow wires to a Mini Servo Motor.
Right foot = 3
Right thigh = 5
Left foot = 9
Left thigh = 6
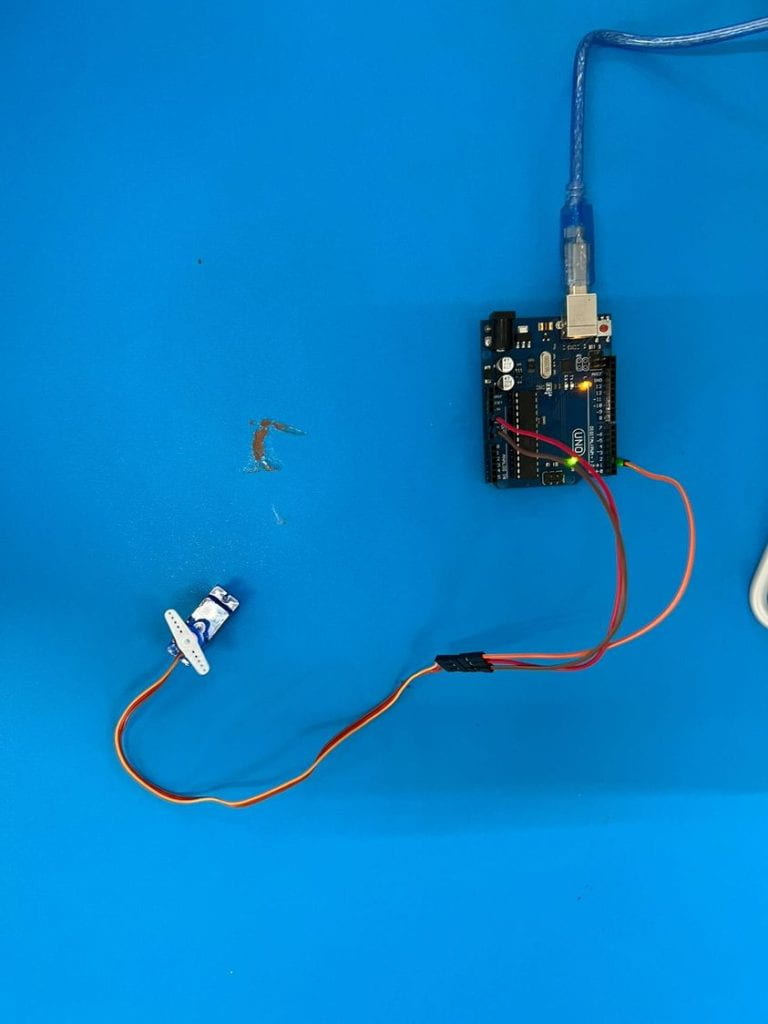
2.Attach the computer’s USB cord to the Arduino UNO board.
Output